¶ Guide to levelling hot beds in power failure
¶ Nozzle & hot bed platform calibration centre reference point
① Manual - Remove the PEI from the hot bed plate and move the extrusion head to the centre of the hot bed platform (middle of X & Y axis); And place a sheet of levelling paper/plain A4 paper on the hot bed plate, directly below the nozzle.
As shown in the picture:
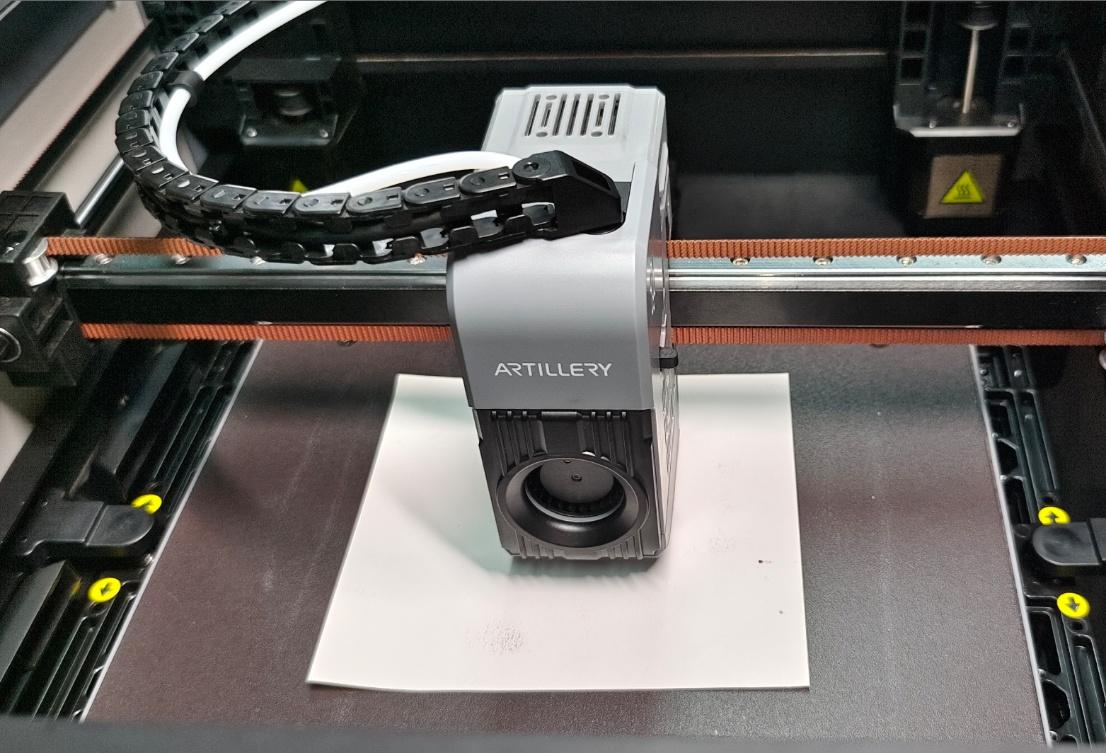
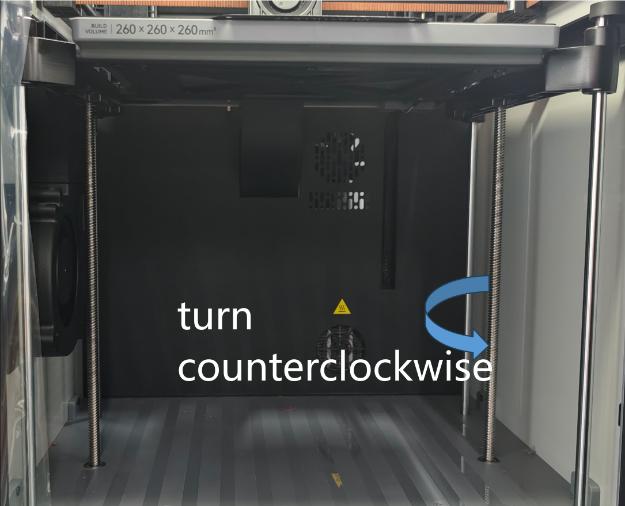
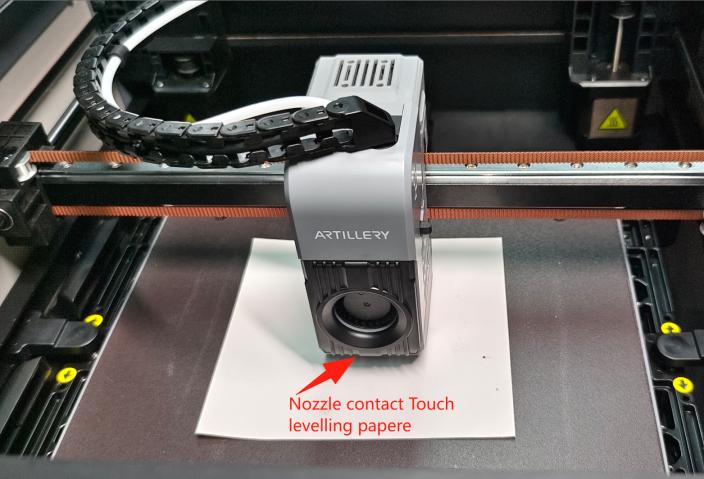
② Adjust the gap between the nozzle and the reference point (centre point): Manual - Tilt to pull the machine's Z-axis belt downward and the hot bed rises upward on the table. Fine-tune the Z-axis screw (in the direction of the arrow) until the nozzle just touches the levelling paper.
As shown in the diagram:
Note: Only the centre point levelling position needs to turn the Z-axis screw, the other levelling points of the hot bed with PH2 Phillips screwdriver operation.
|
 |
 |
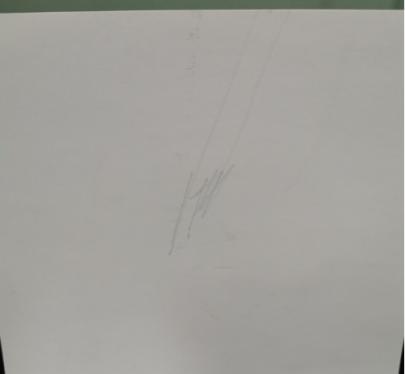
Calibrate the levelling paper correctly as follows:
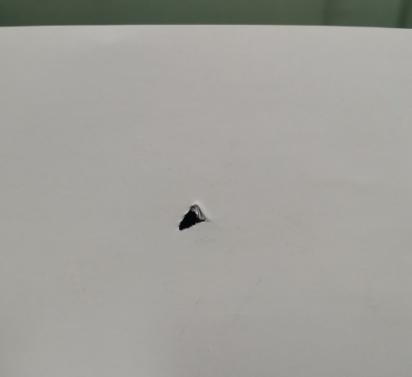
Manually try pumping the levelling paper back and forth. Optimum: The levelling paper moves normally and you can feel a slight resistance to the nozzle scraping the levelling paper (‘slight scraping of the nozzle’), and it leaves a slight scratch on the paper as shown in the following figure.
Too tight: Paper jam (causes printing to appear scratching the PEI plate/plugging/wrapping the head state).
Too loose: no resistance without scratching (resulting in printing without sticking to PEI/frying surface/head wrapping status).
 |
 |
 |
|
✔ |
✖ |
✖ |
|
Best condition: light |
Too tight: cardboard cuts |
Too loose: no resistance, no scratches |
¶ Calibrate peripheral levelling points
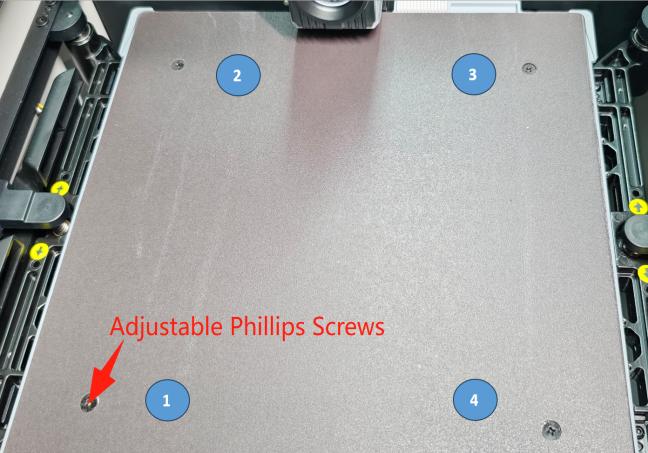
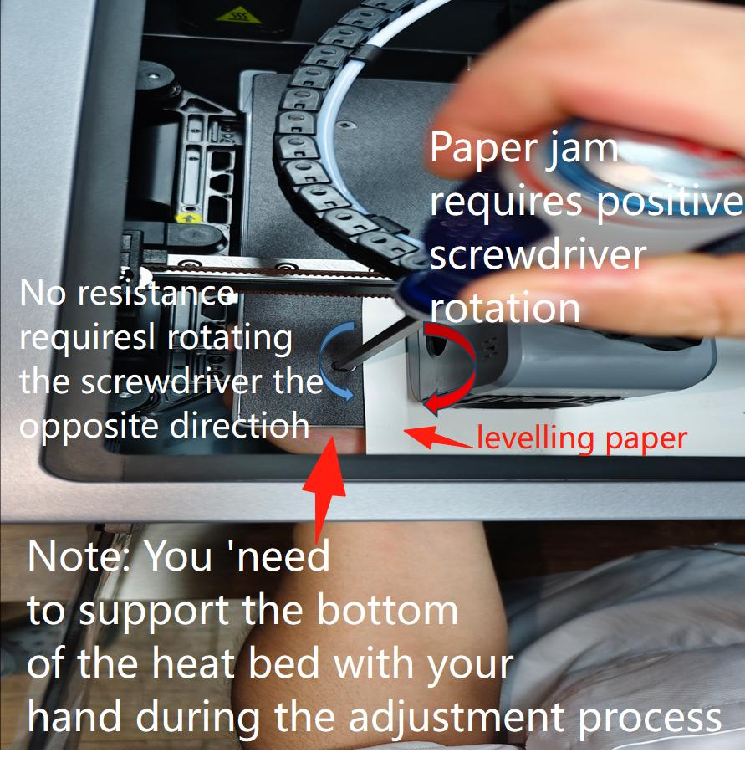
Manual - Move the nozzle and levelling paper slowly to the left at the same time to the first levelling point, so that the nozzle moves precisely above the first levelling point, retaining enough space to put a screwdriver in the active position directly above the hot bed levelling screws. Note: During the adjustment of each levelling point, it is necessary to hold the bottom of the levelling point of the hot bed with the palm of your hand. Prevent the hot bed from sliding downward, resulting in uneven surface of the hot bed plate. (In the process of moving the nozzle, you need to observe the distance between the hot bed and the nozzle in real time, and realistically adjust the direction of rotation of the adjustable screws to ensure that the gap between the hot bed and the nozzle can be put into a piece of levelling paper) as shown in the figure:
|
 |
 |
Calibration process
If you feel too much resistance when moving the levelling paper (the levelling paper does not slide underneath the nozzle either), or even if the nozzle is visibly scraping the hot bed plate (danger!), the gap is too tight, causing a nozzle jam. If you feel too much resistance when moving the levelling paper (the levelling paper does not slide under the nozzle) or even if the nozzle is clearly scratching the hot bed plate (danger!), the gap is too small and too tight, resulting in a paper jam.
If the levelling paper slides out easily without resistance, the gap is too large and too loose without scratches. The adjustable Phillips screw needs to be adjusted:
Gap too small (nozzle too low for paper jam) - Adjust the adjustable Phillips screw forward. The gap is too large and there is no resistance to paper levelling and no scratches (the nozzle is too high) - Adjust the adjustable cross-screw in the reverse direction. Check the resistance of the levelling paper while rotating the adjustable cross screw, and adjust the levelling paper to the optimum condition during the levelling process of the nozzle & hot bed (slight scratches on the levelling paper).
¶ Repeat calibration of other levelling points
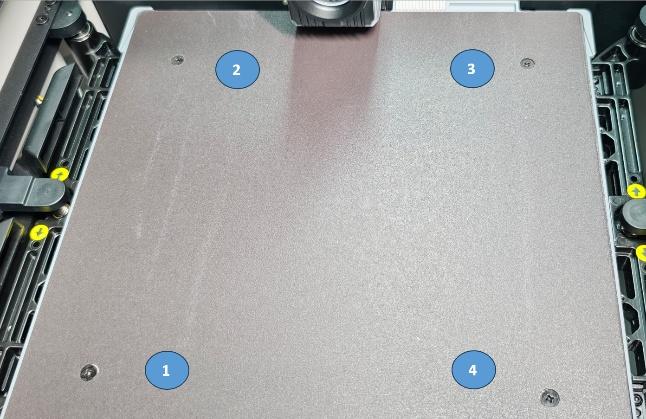
Referring to the illustrated sequence of levelling points, move to the point directly above each levelling point in turn. Repeat step 2 for each point and level all points to be levelled.
¶ Calibration completed
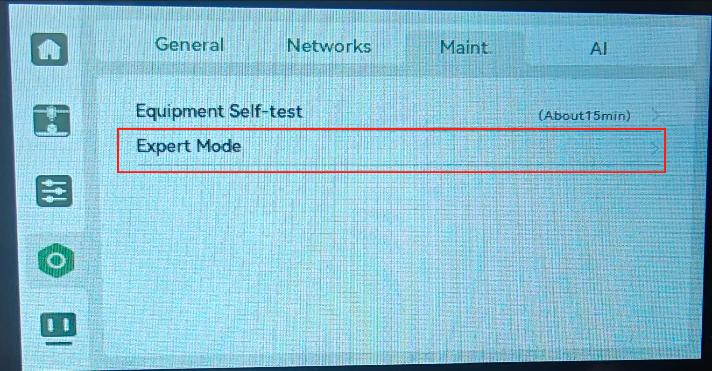
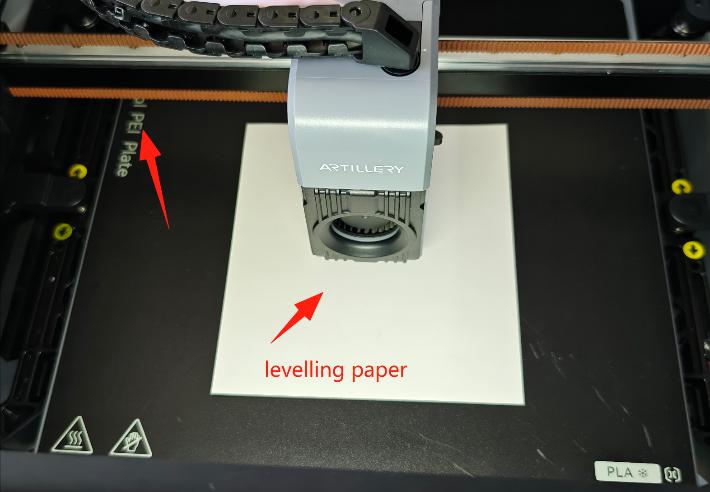
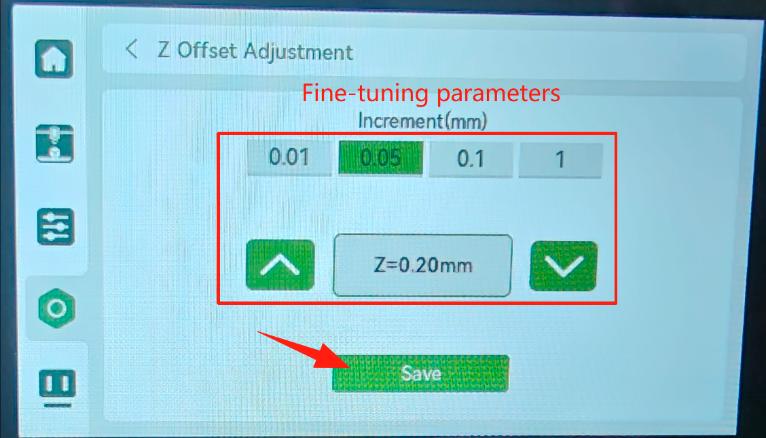
Effective alignment is completed, the PEI back to the hot bed, power on the machine operating screen into the adjustment of Z = 0 offset (centre reference point) into the levelling paper fine-tuning, Z offset adjusted to the best state (levelling paper has a slight scratch) and save the return to exit.
As shown:
 |
 |
 |
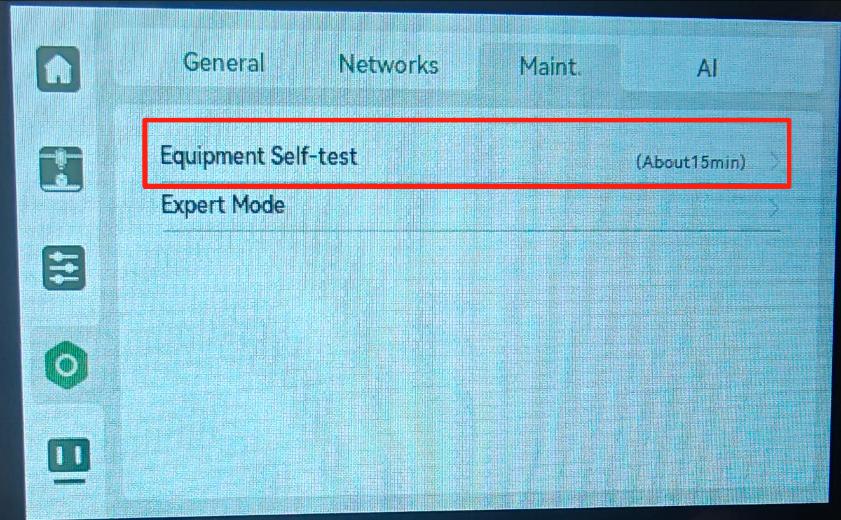
¶ Enter the equipment self-test
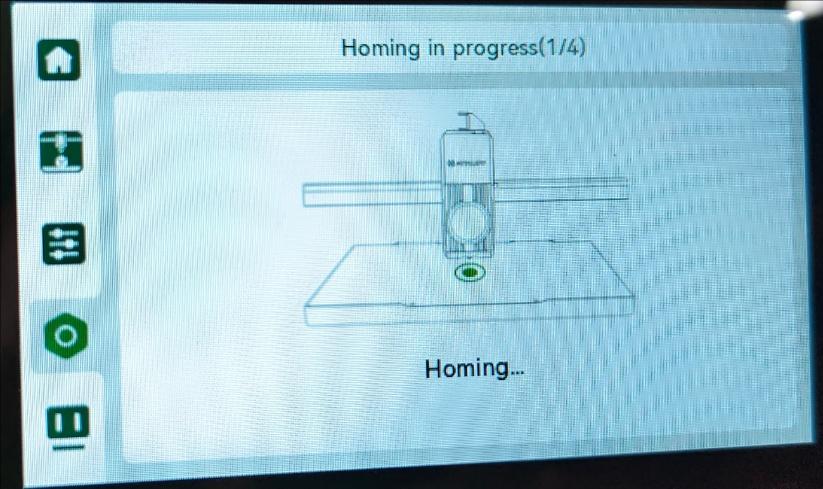
printhead/heatbed heating, automatic levelling of the heatbed, vibration compensation detection. Wait for the completion of the normal printing.
As shown in the figure:
 |
 |