 |
 |
 |
 |
 |
 |
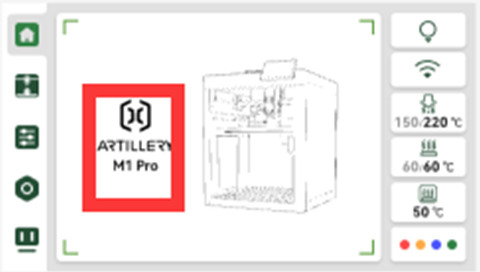
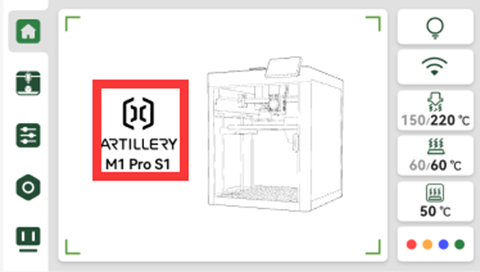
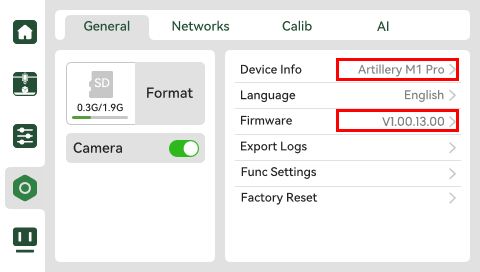
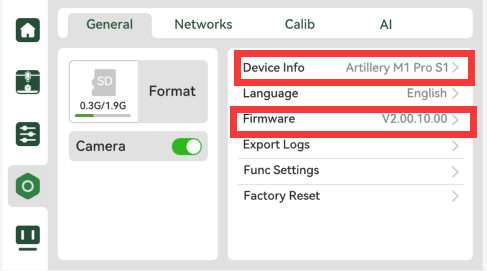
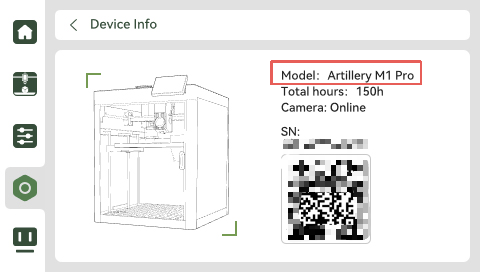
| Display M1pro before optimization Version number: V1.00.13.00 Display M1pro S1 after optimization Version number: V2.00.10.00 |
¶ Required tools and materials
Tools: 1. Computer
Materials: AP board flashing cable
 |
Warm reminder: After the flashing is successful, you need to move the jumper cap back to the use mode. Plug the camera terminal back to its original position;
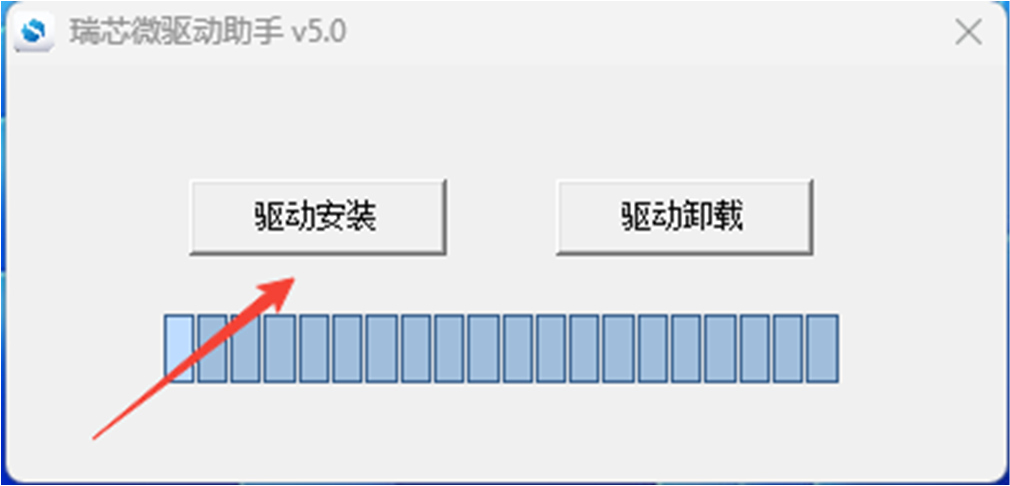
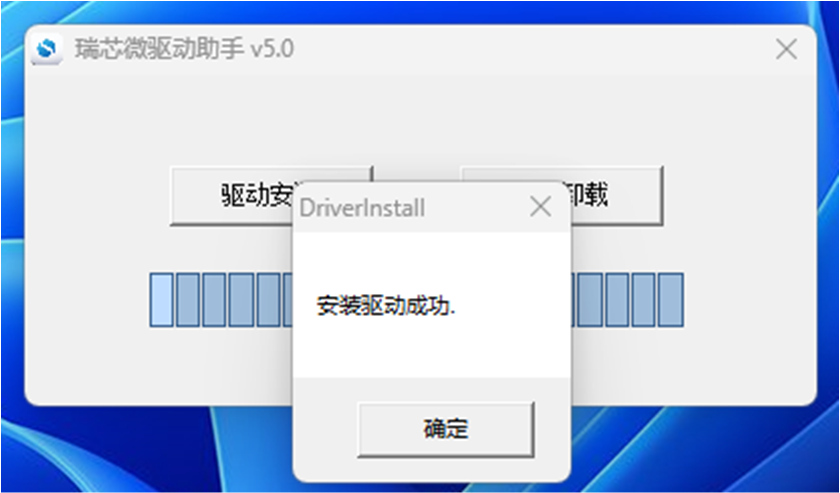
1. Install DriverAssitant driver on the computer
 |
 |
 |
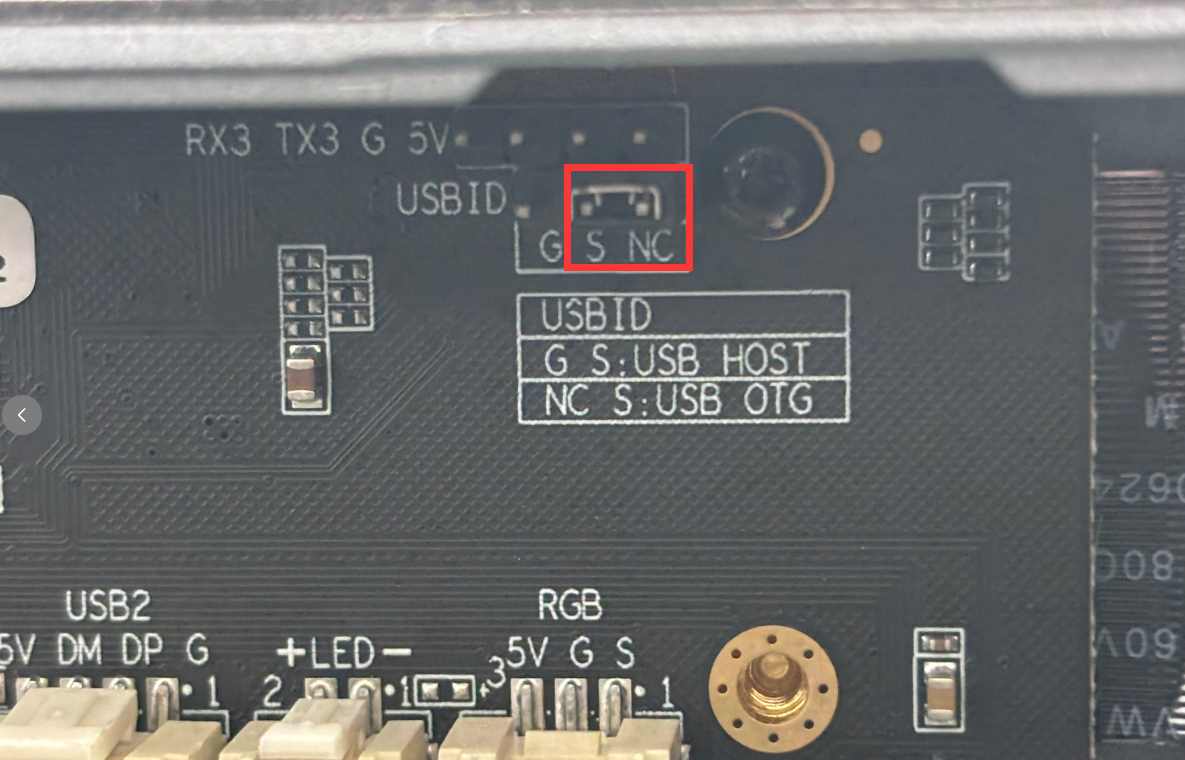
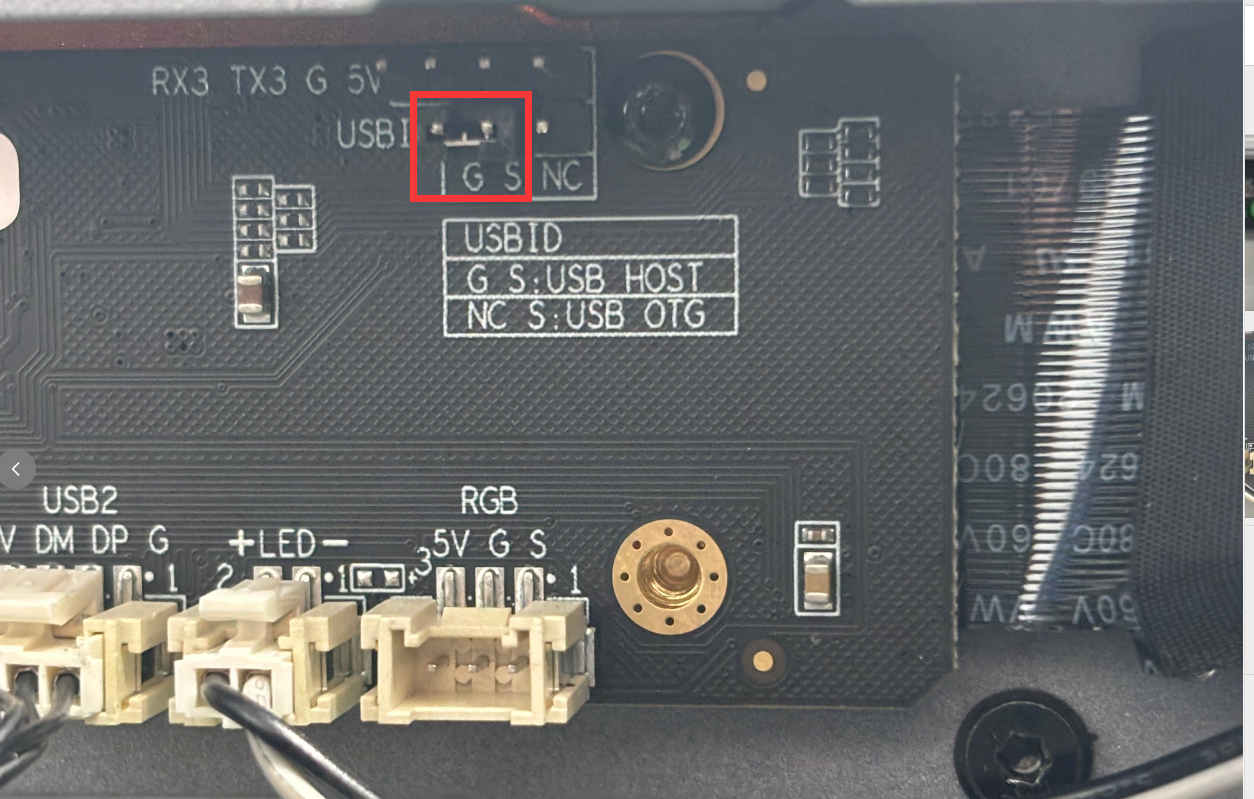
2. Move the jumper cap to prepare for flashing mode;
 |
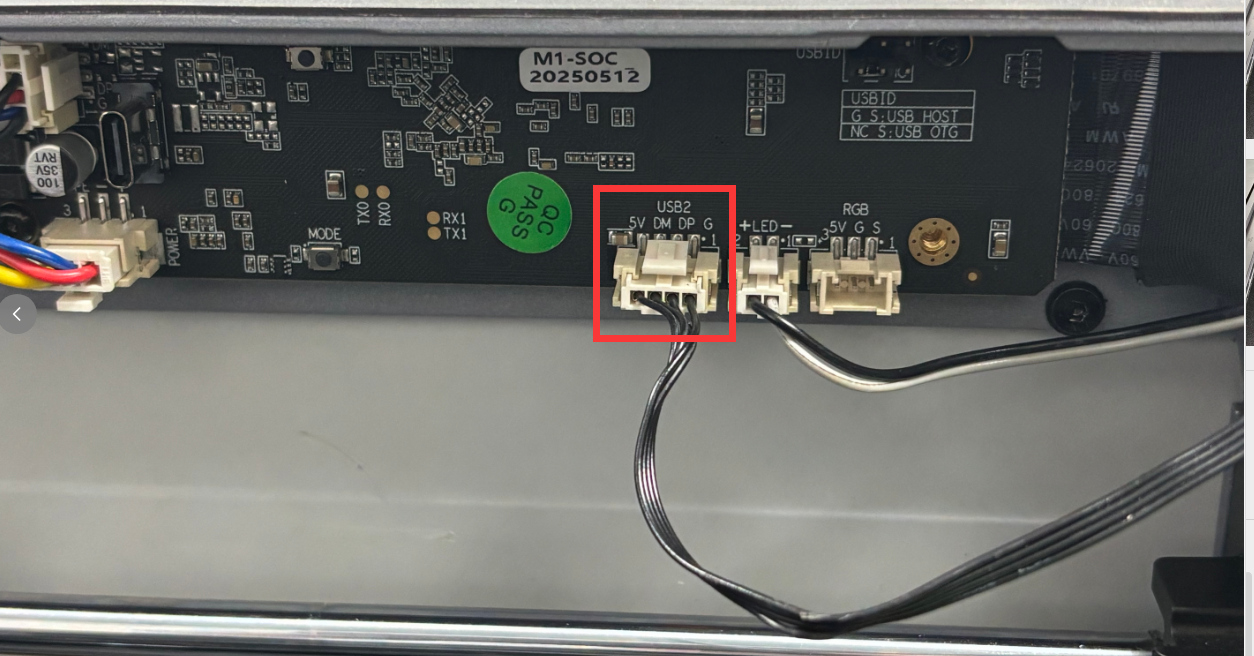
3. Connect the computer to the printer camera port with the AP board flashing cable;
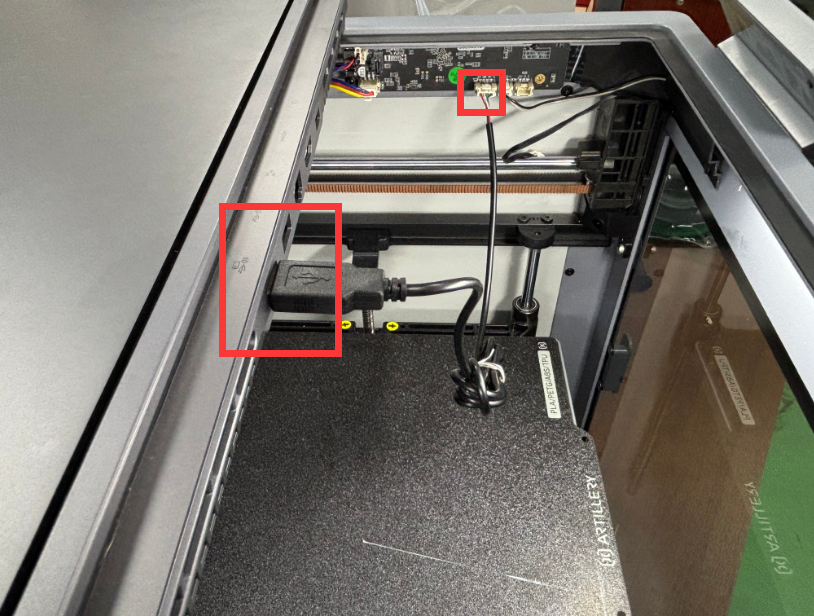 |
¶ 4. AP board software burning
4.1 First press the MOOE key, then power on.
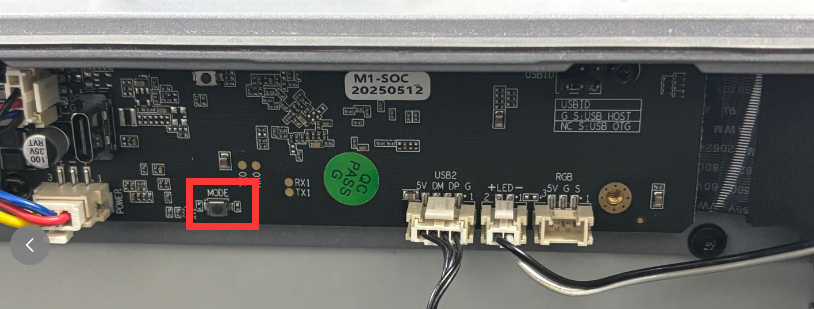 |
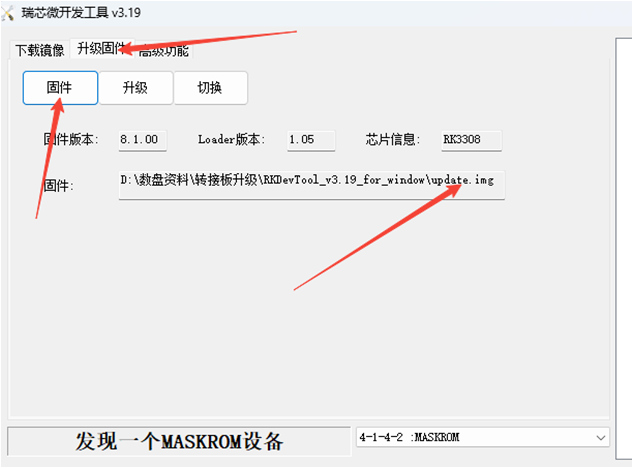
4.2 Open the software RKDevTool.exe
 |
4.4 Load the image update.img
 |
 |
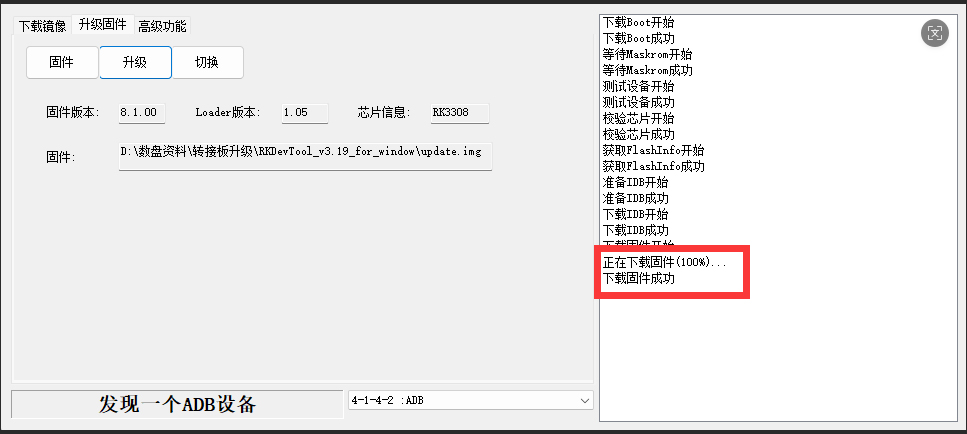
4.5 Click Upgrade, and the progress on the right showing 100% means the upgrade is successful;
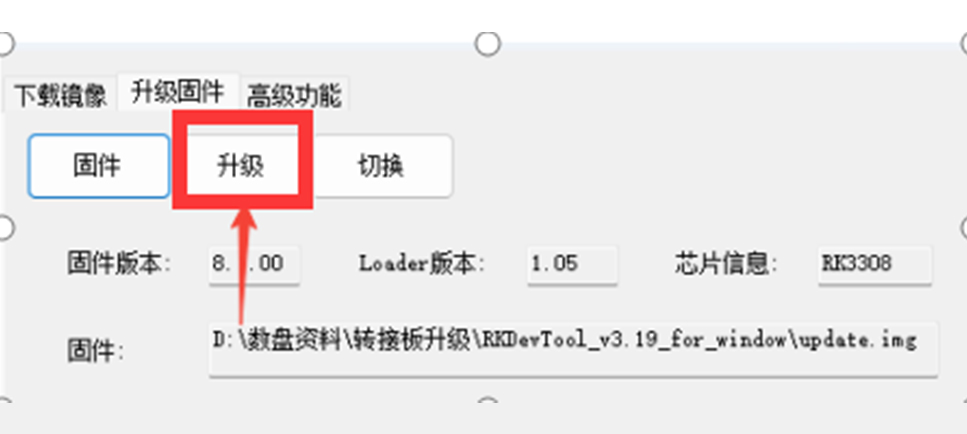 |
 |
5. Move the jumper cap back, plug the camera terminal back into its original position to enter the usage mode;
 |
 |
Optimize the above operation steps. If you have any questions or need help, please send an email to contact us support@artillery3d.com for after-sales service.