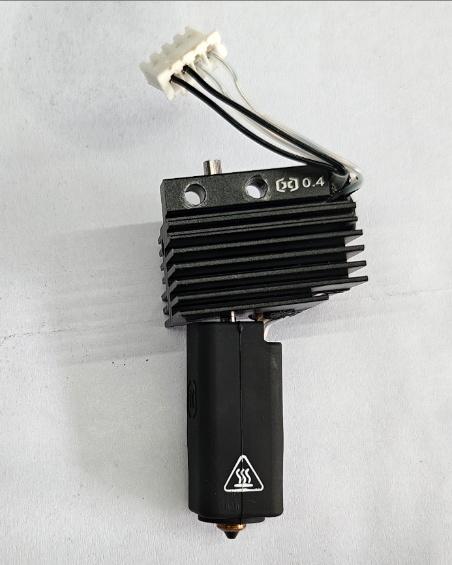
Replacement of tools used:
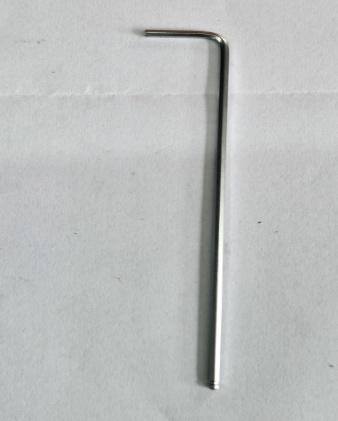
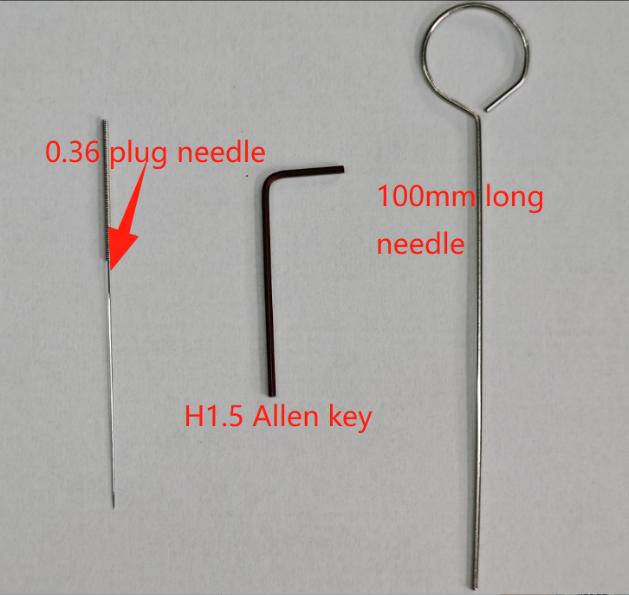
H2.0 hexagonal spanner, H1.5 hexagonal spanner 0.36mm plug pin 100mm plug pin
 |
 |
¶ Guide to removing the hot end assembly
¶ Heating assembly bends
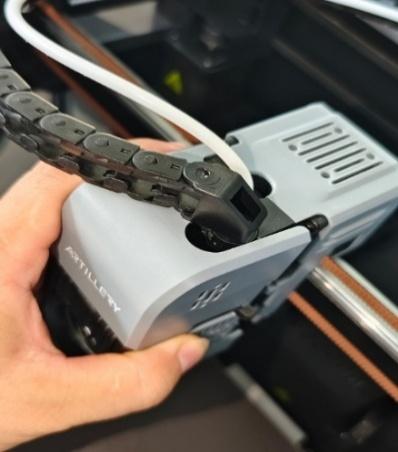
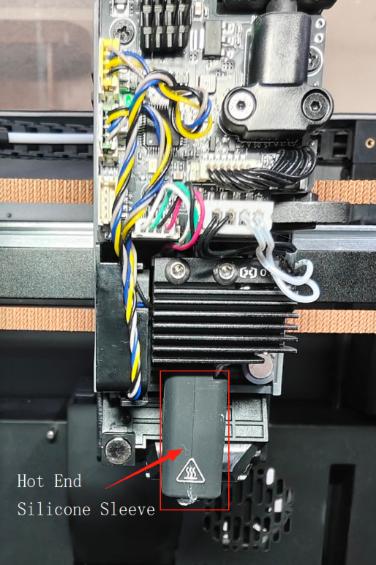
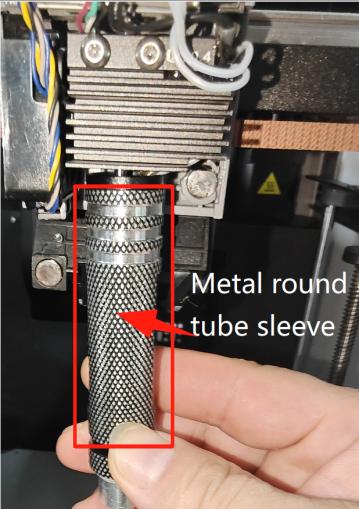
The machine does not power up - remove the nozzle cover and the hot end silicone sleeve and slip it over the top with a metal round tube sized to fit the heating assembly. (Note: The metal round tube sleeve must not press on the heat generating ceramic sheet.) Break the heating assembly straight to print normally. If printing is not normal it is recommended to remove the hot end assembly and replace it.
As shown in the picture:
 |
 |
 |
 |
¶ Heating assembly plugged
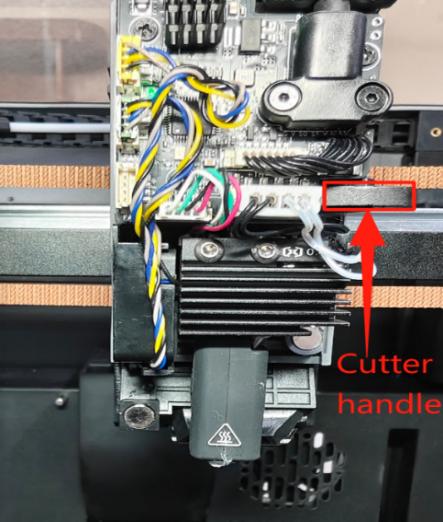
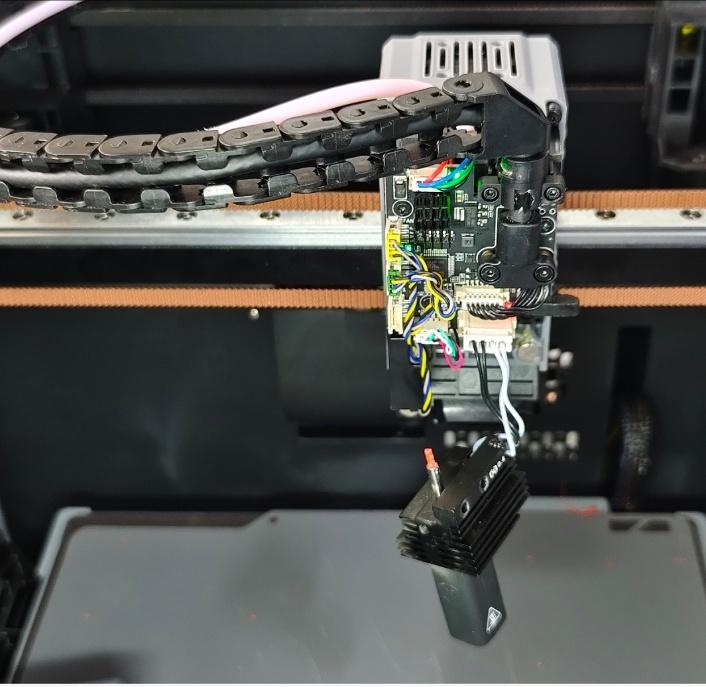
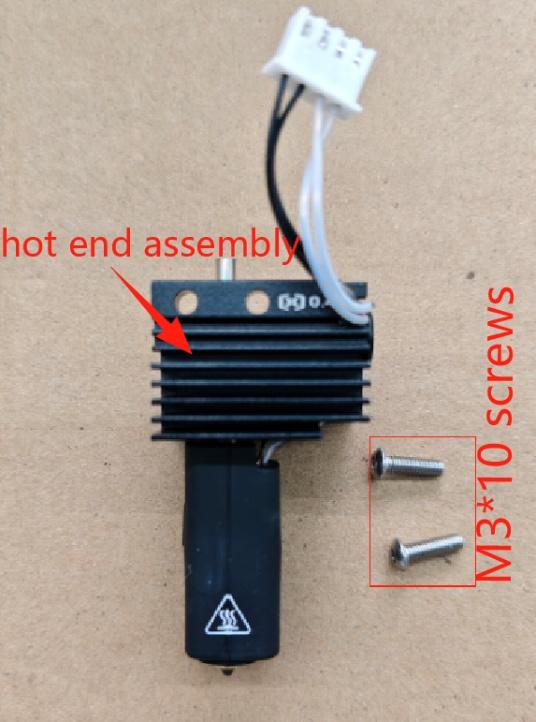
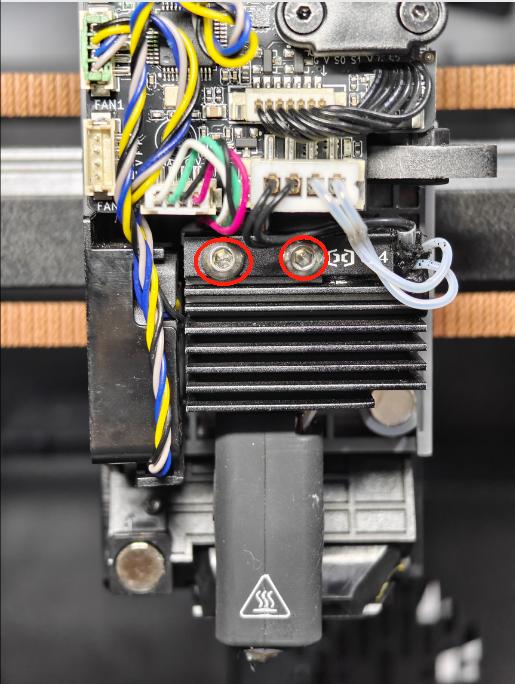
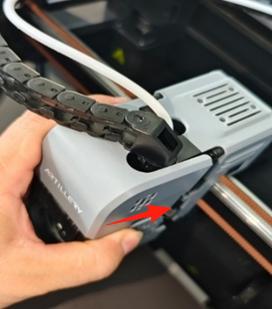
① Remove the nozzle cover to check that the consumables are fully withdrawn/cut off, if the consumables left in the extruder are not cut off and extruded properly. Manual - Press the cutter handle towards the belt to cut off the consumables, and remove the hot end assembly M3*10 screws with an H2.0 Allen key. Leave the hot end assembly hanging.
 |
 |
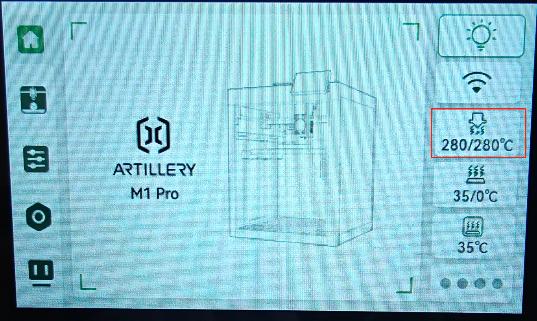
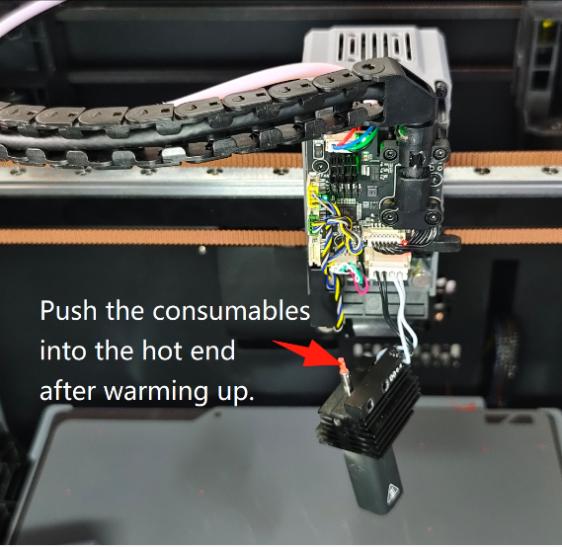
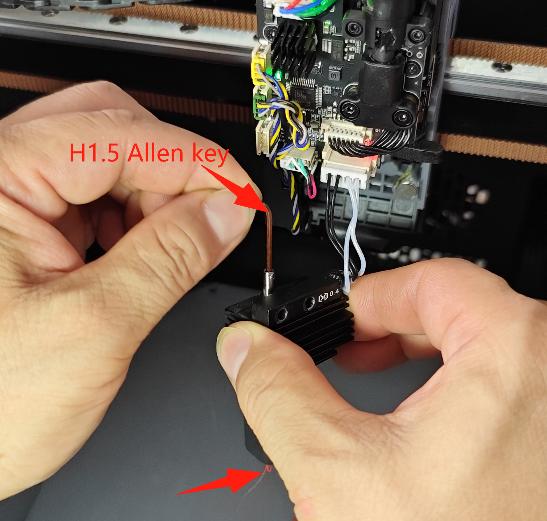
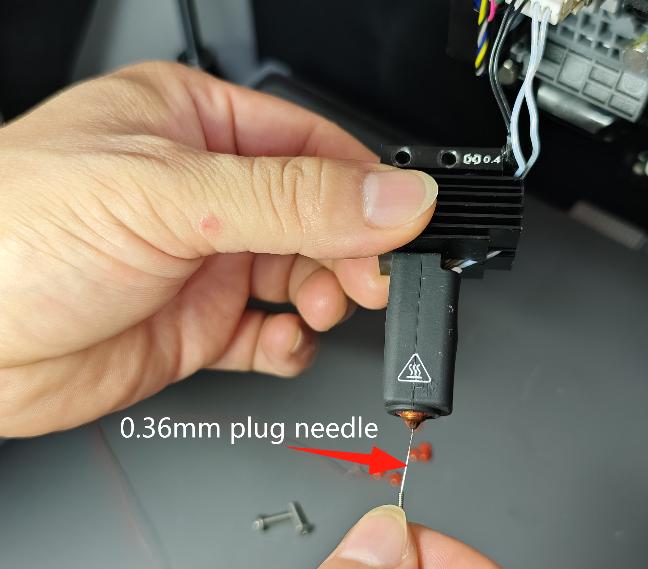
② Operation screen: the hot end of the temperature to 260-300 ℃, the hot end of the component leakage of consumables into the hot end, with 100mm round needle / H1.5 hexagonal wrench from the hot end of the component throat insertion, the hot end of the component within the residual material wire from the nozzle extrusion out of the nozzle, Remarks: Extrusion of the material wire is not smooth, the available 0.36 plug needle from the nozzle end of the nozzle to unblock the nozzle, and then repeated (2.0 * 100mm round needle / H1.5 hexagonal wrench) to the hot end component throat insertion and squeeze out the residual material until the nozzle extrusion of material wire is smooth, can be normal use. (H1.5 hexagonal spanner) to the hot end of the component throat inserted into the extrusion of residual material, until the nozzle extrusion material wire smooth until, can be used normally. If the extrusion is still not smooth, it is recommended to replace the new end assembly.
As shown in the picture:
 |
 |
 |
 |
¶ Heating assembly wrap/leakage
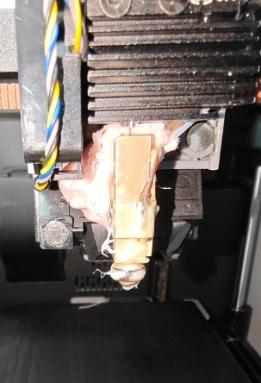
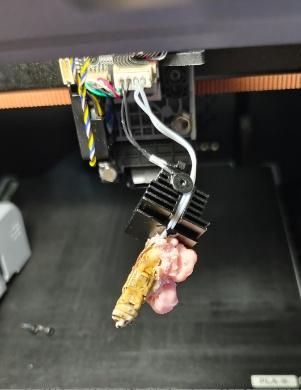
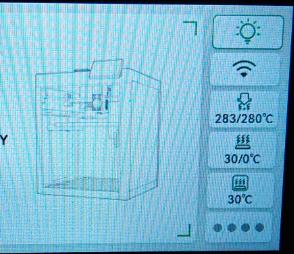
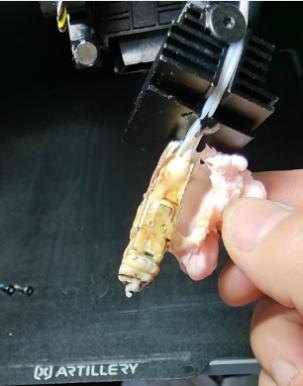
① Wrapping material - the nozzle cover hot end screws removed, the operating screen to the nozzle temperature to 280-300 ℃ waiting for about 15 minutes, so that the softening of the consumables, the softening of the material wire disassembled. (Note: In the process of disassembling the wrapped material, pay attention to the hot end of the heater and thermal wire can not be broken/short-circuit phenomenon), and then reduce the temperature to 200 ℃. Use a dry rag to clean the surface of the hot end.
 |
 |
 |
 |
② Leakage - Remove the hot end assembly screws and silicone, operate the nozzle to 230-250°C, and re-tighten the nozzle with a 7mm and 8mm open-end wrench (Note: Avoid the location of the heating ceramic piece and thermistor when the open-end spanner snaps onto the heating assembly)
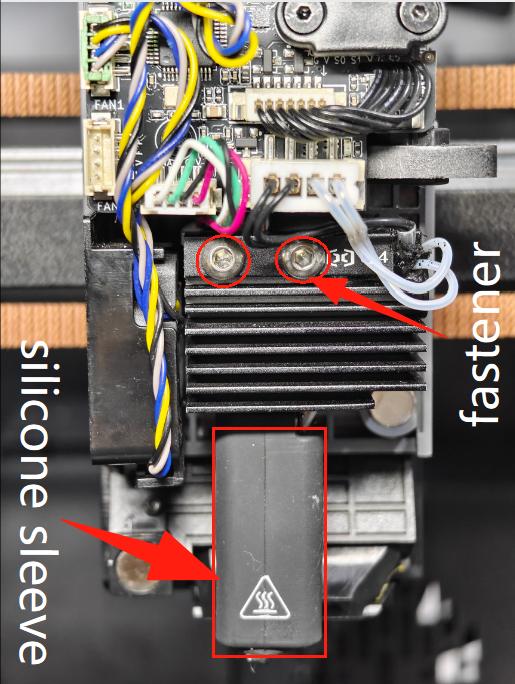 |
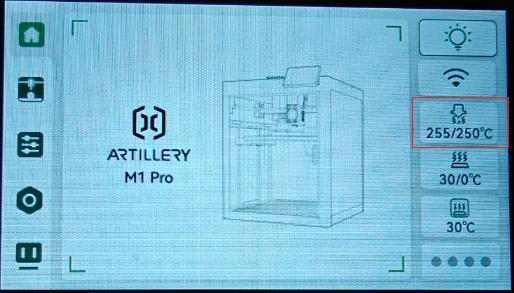 |
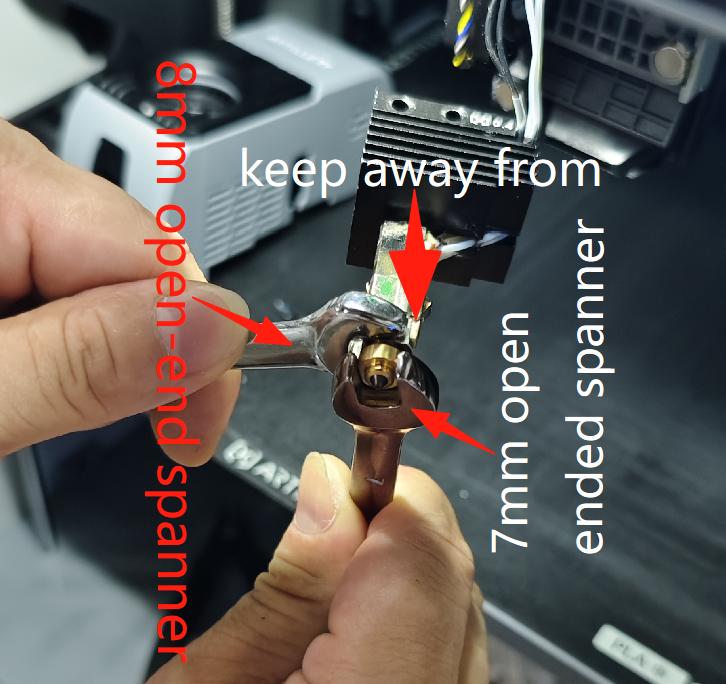 |
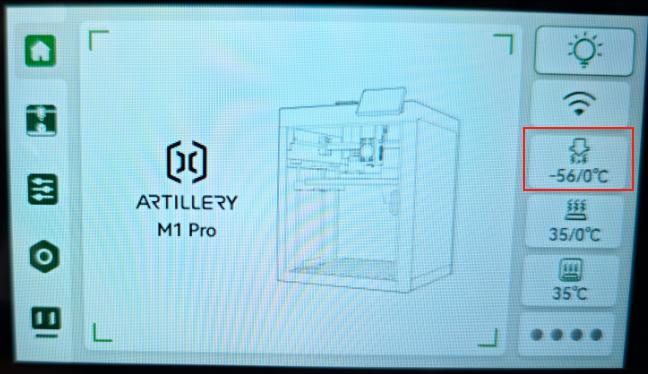
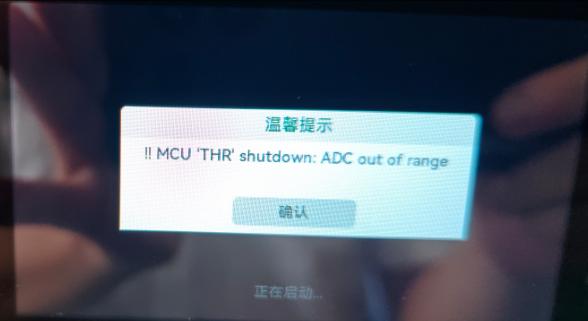
¶ Hot End Temperature Display Negative Temperature/HTR ADC
Remove the nozzle cover and the silicone sleeve on the heating, slightly drag the heating assembly by hand thermal wire with disconnection, such as disconnection/short-circuit will appear the following display. Then the hot end assembly needs to be replaced.
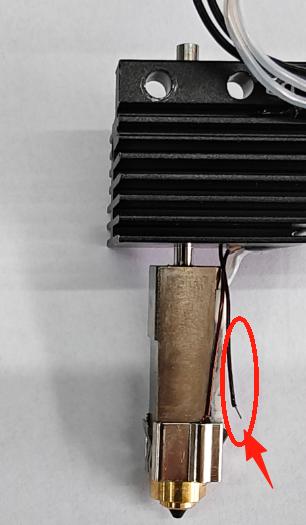 |
 |
 |
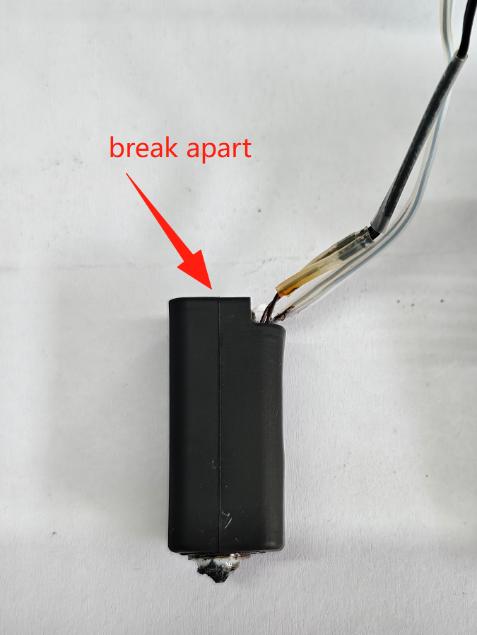
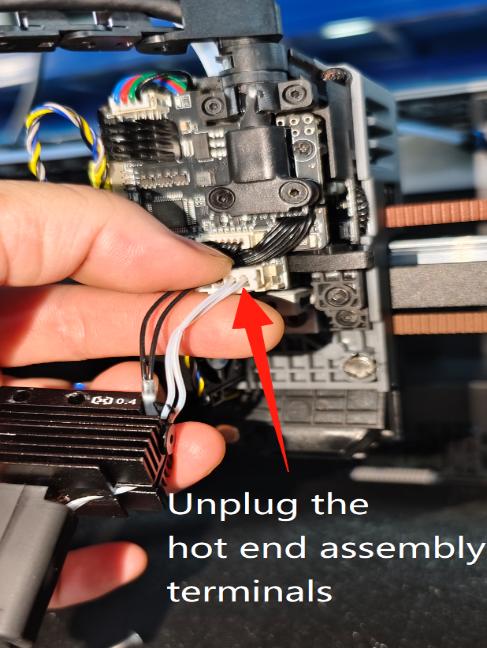
¶ Broken heating assembly
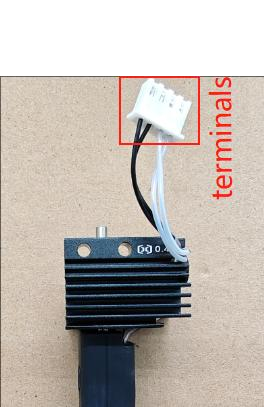
Remove the nozzle cover. Check whether the consumables are completely withdrawn/cut off, if the consumables are still left in the extruder and not cut off properly, please press the cutter handle towards the belt to cut off the consumables, and take out the M3*10 screws of the hot-end assembly with H2.0 Allen wrench (refer to the above steps) and manually - unplug the terminals of the hot-end assembly to replace the hot-end assembly.
 |
 |
¶ When does the hot end silicone sleeve need to be replaced
Broken, loose, cracked and damaged. Replace the silicone sleeve process, the temperature of the hot end within 50 ℃ to replace the new silicone sleeve. (Damage to the silicone sleeve at the hot end affects the print quality)
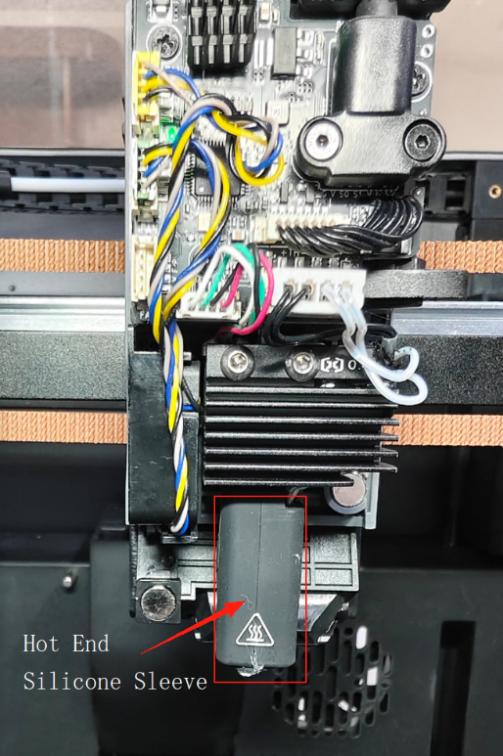
¶ Guide to Installing Hot End Components
Replacement tools and materials used:
H2.0 hexagonal spanner, new hot end assembly*1
 |
 |
¶ Guide to Installing Hot End Components
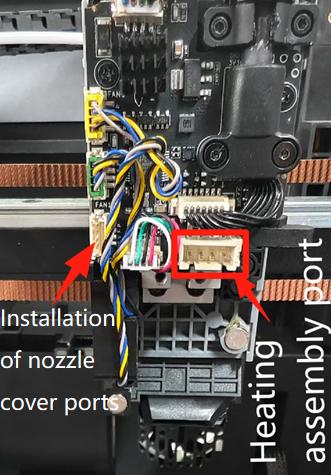
Install the hot end assembly terminal into the 4P seat in the lower right corner of the extruder board, lock the M3*10 screws in place, and finally install the nozzle cover terminal into the lower left corner of the extruder board and install it. Ready to use.
As shown in the picture:
 |
 |
 |
 |